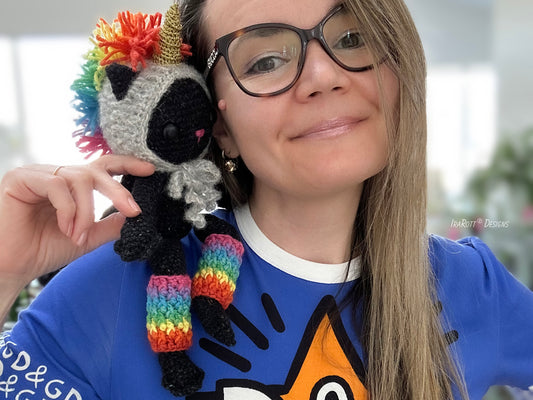
When it comes to my design process, putting pen to paper isn't always the first step. Sometimes my imagination is sparked by the touch of yarn, playing with colors, and simply swatching. Several months ago I received a gorgeous bundle of hand-dyed yarn from Arcane Fiber Works, a talented local artist from Southern Alberta. The Blessed Bluebird and Wood- Stock colorways have totally captured my heart!! This lovely yarn is 80/20 merino-nylon fingering weight, with approximately 400 m per 100 g.

Creating a new design can take a little while, but I just knew it had to be a sweater - one that's warm, luxurious, and as cuddly as a teddy bear!
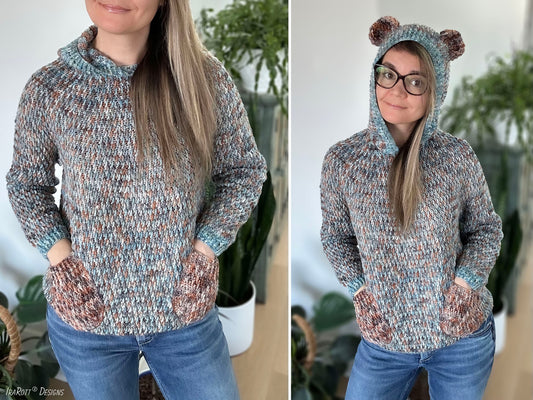
Lo and behold, introducing my brand new Rocky The Mountain Bear design to tackle the wild in a toasty hooded sweater that captures the essence of Alberta's Rockies. Despite only having one size available at the moment, I decided to publish the pattern instead of putting it on hold. In the future, if I choose to grade it in various sizes, previous buyers will receive the updated version.

This sweater is crocheted seamlessly in the round from the bottom up. First, make the sleeves and body up to the underarms, then join the sleeves on each side of the body and work the yoke around the entire piece to the neck. The hood, ears, and pockets are finished individually and sewn onto the sweater in the final assembly. However, you can leave off the add-ons to create a simple and stylish yoke sweater if you wish.

When beginning a project with a lengthy chain, it can often lead to an overtightened edge or the struggle of working through each individual chain in the first round. For a little extra assistance, give the foundation double crochet a shot! It's a great choice not just for starting rectangular blankets, but also for creating parts of clothing when working in the round. Here is how I use foundation double crochet in my yoke sweater.
The woven texture in this design is created by simply alternating front-post tr and dc stitches in one row, and using hdc stitches in the next row. Think of it as an Alpine Stitch with a minor twist. Here are a couple of hints for working the textured fptr in second row below and decreasing in this unique pattern.
Stitch markers make it easier for you to see where to start the next round, just put one around the post of your first fptr or dc in textured rounds and move them up as you go. If you kick off the round right, it'll be a breeze to get through the rest! I also use stitch markers to indicate the sleeves placement, yoke decreases, and neck shaping. There's no such thing as too many stitch markers and never enough ways to use them!
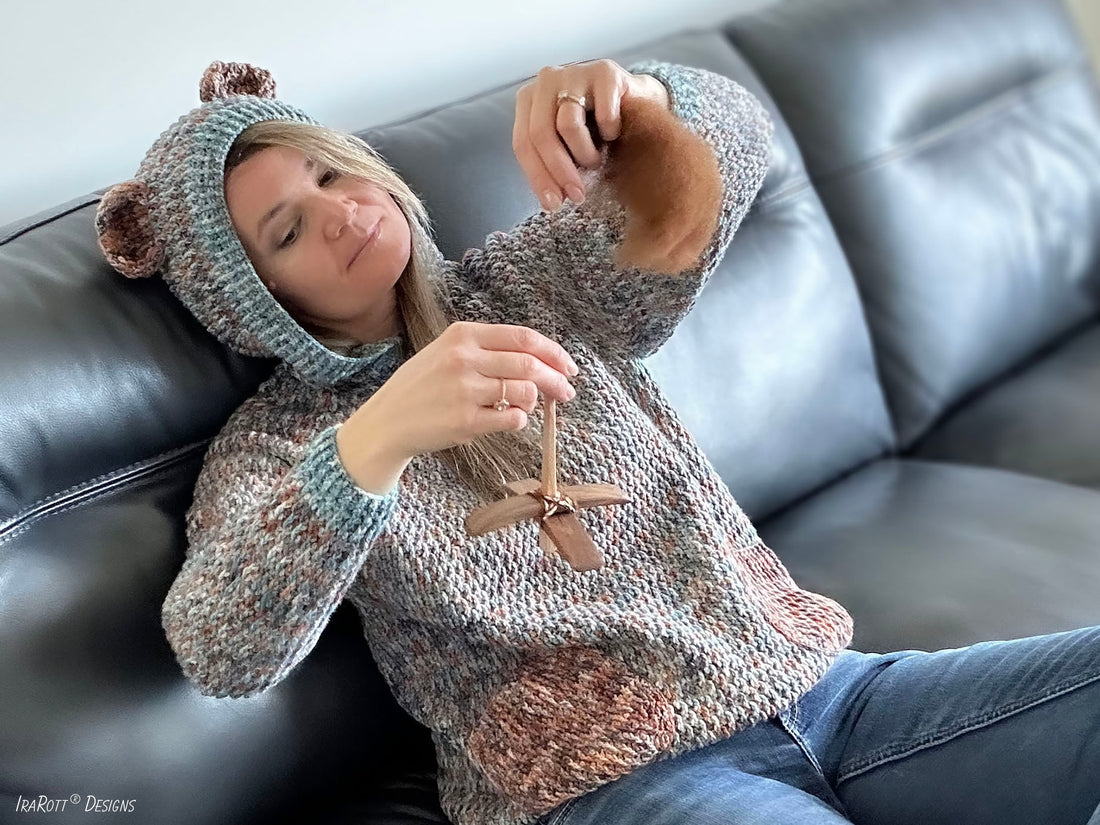
As an option, you can make a drawstring and weave it through the stitches across the ribbing on the hood. Simply work the Romanian Point Lace cord until it measures 55" (140 cm) long, using 2 strands of yarn and a 5.5 mm hook.

To create this sweater I used 4 skeins of each color (or 3200 m/ 3500 yd total). The ears and pockets are made using Wood- Stock, the ribbing is from Blessed Bluebird, and the rest is striped by alternating 2 rows of each color in the textured pattern. If you wish, you can use a single color for the entire sweater or use more than 2 colors to make a sweater uniquely yours; the colors blend nicely in this textured pattern. I can't wait to see what you create and hope you'll enjoy cuddling up in this bear-y cozy sweater as much as I do!